# Getting started, quick
After installing the app, you are presented with a quick introduction. At the end, you have to grant the app permission to use the camera and the storage, the two only mandatory permissions the app needs. Then you are presented with the main interface.
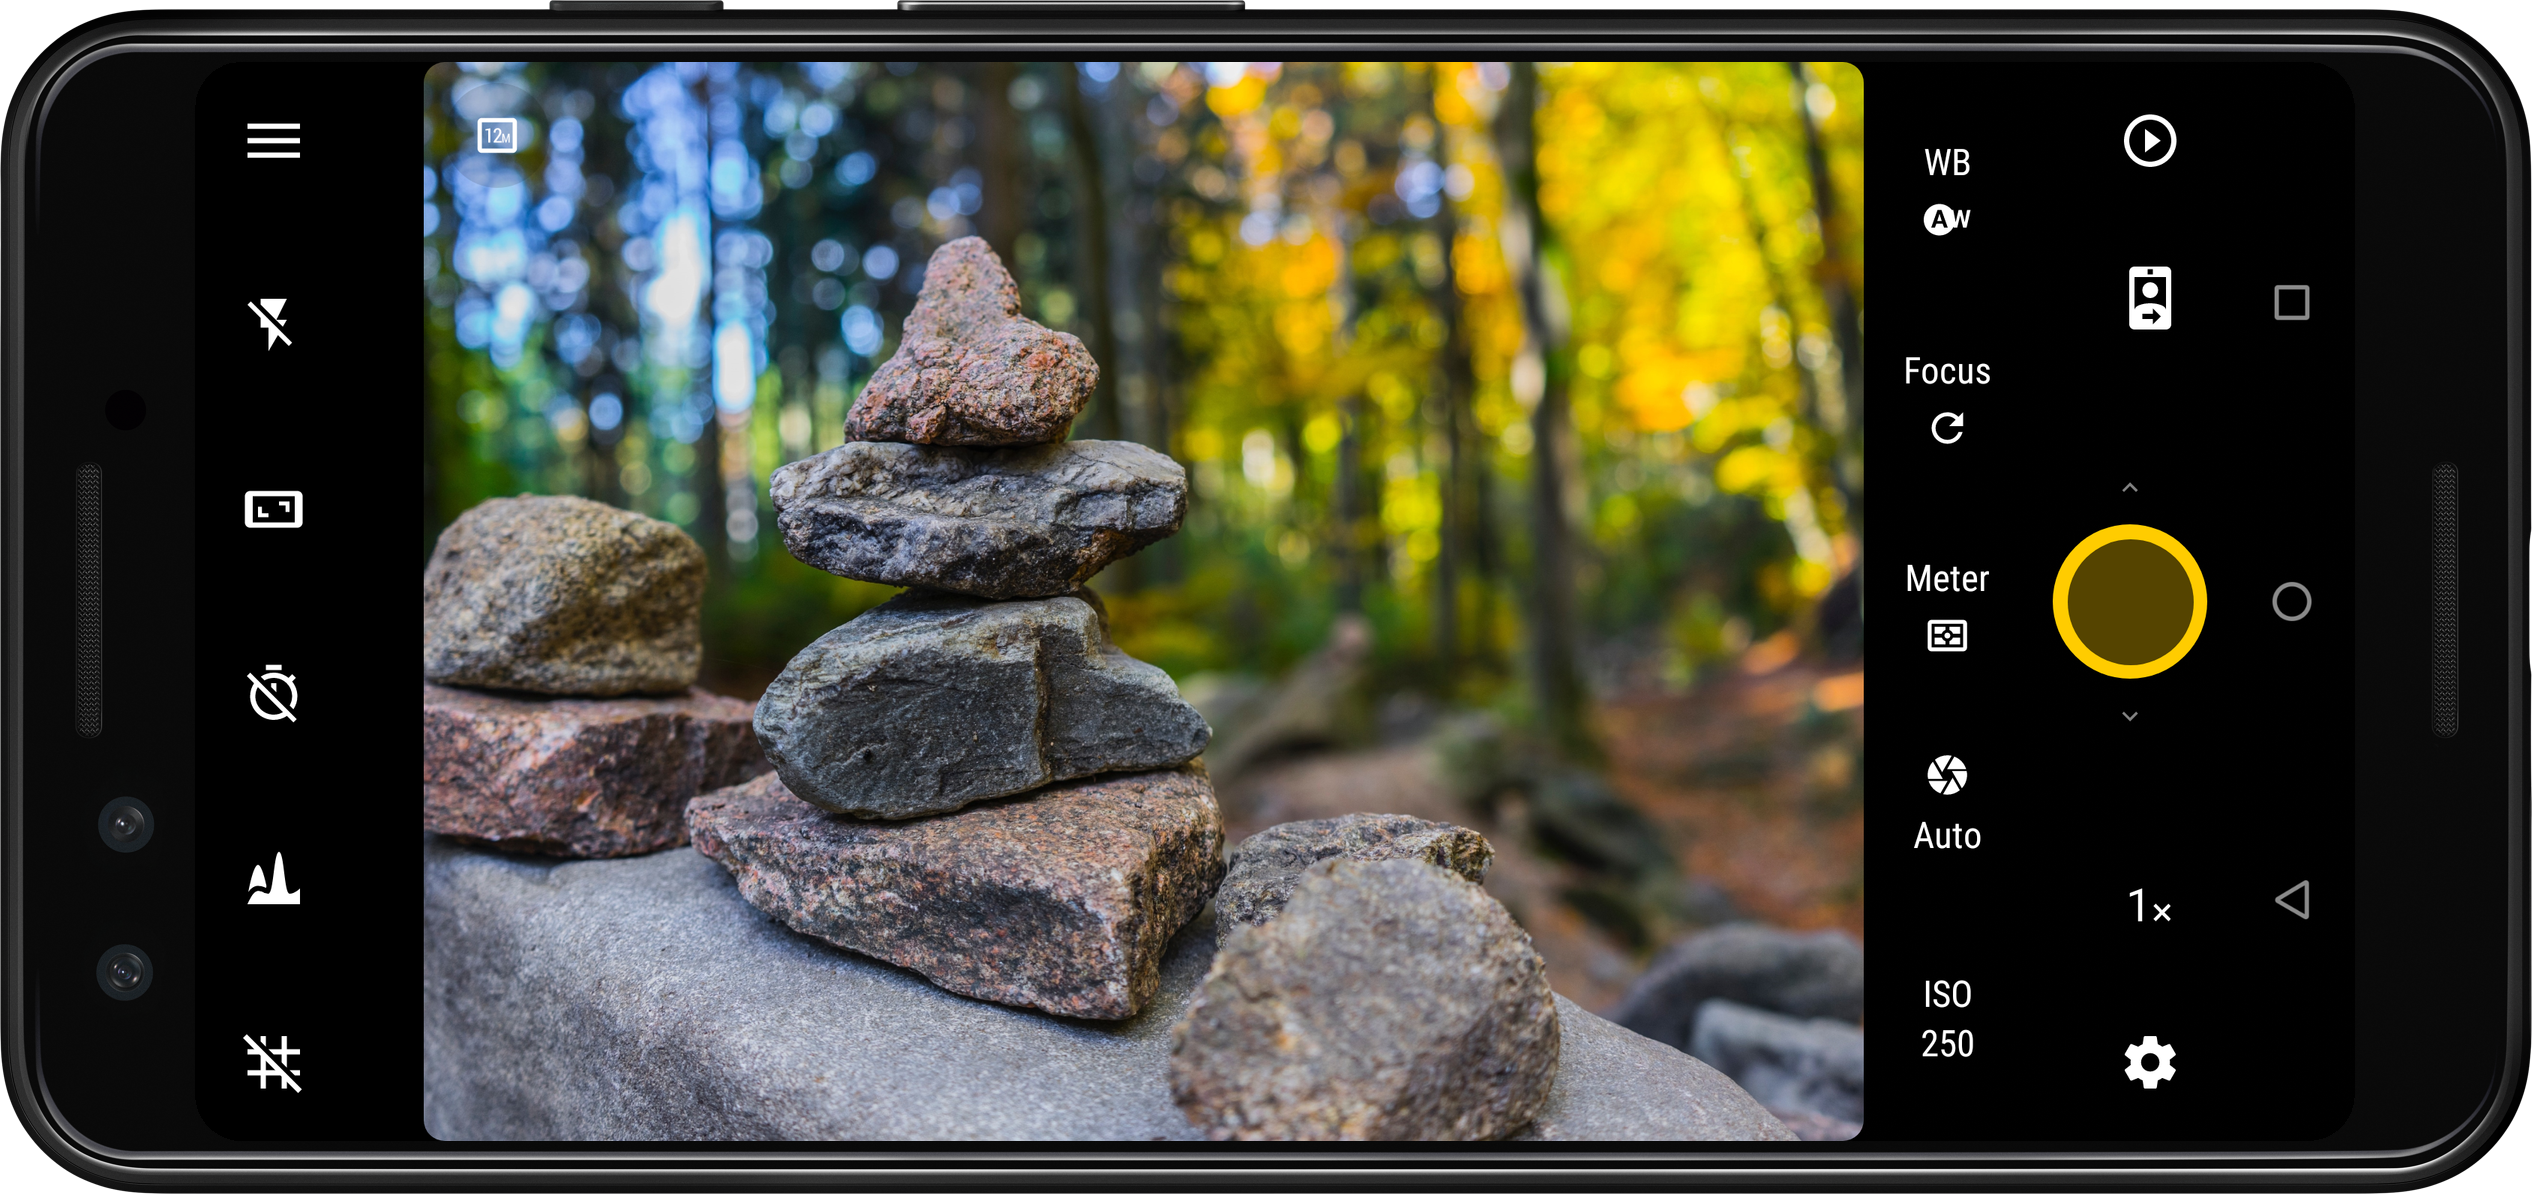
Right away you can take photographs by tapping on the shutter button:
Alternatively you can take photos by using the volume keys by default, you can at any time configure these as well.
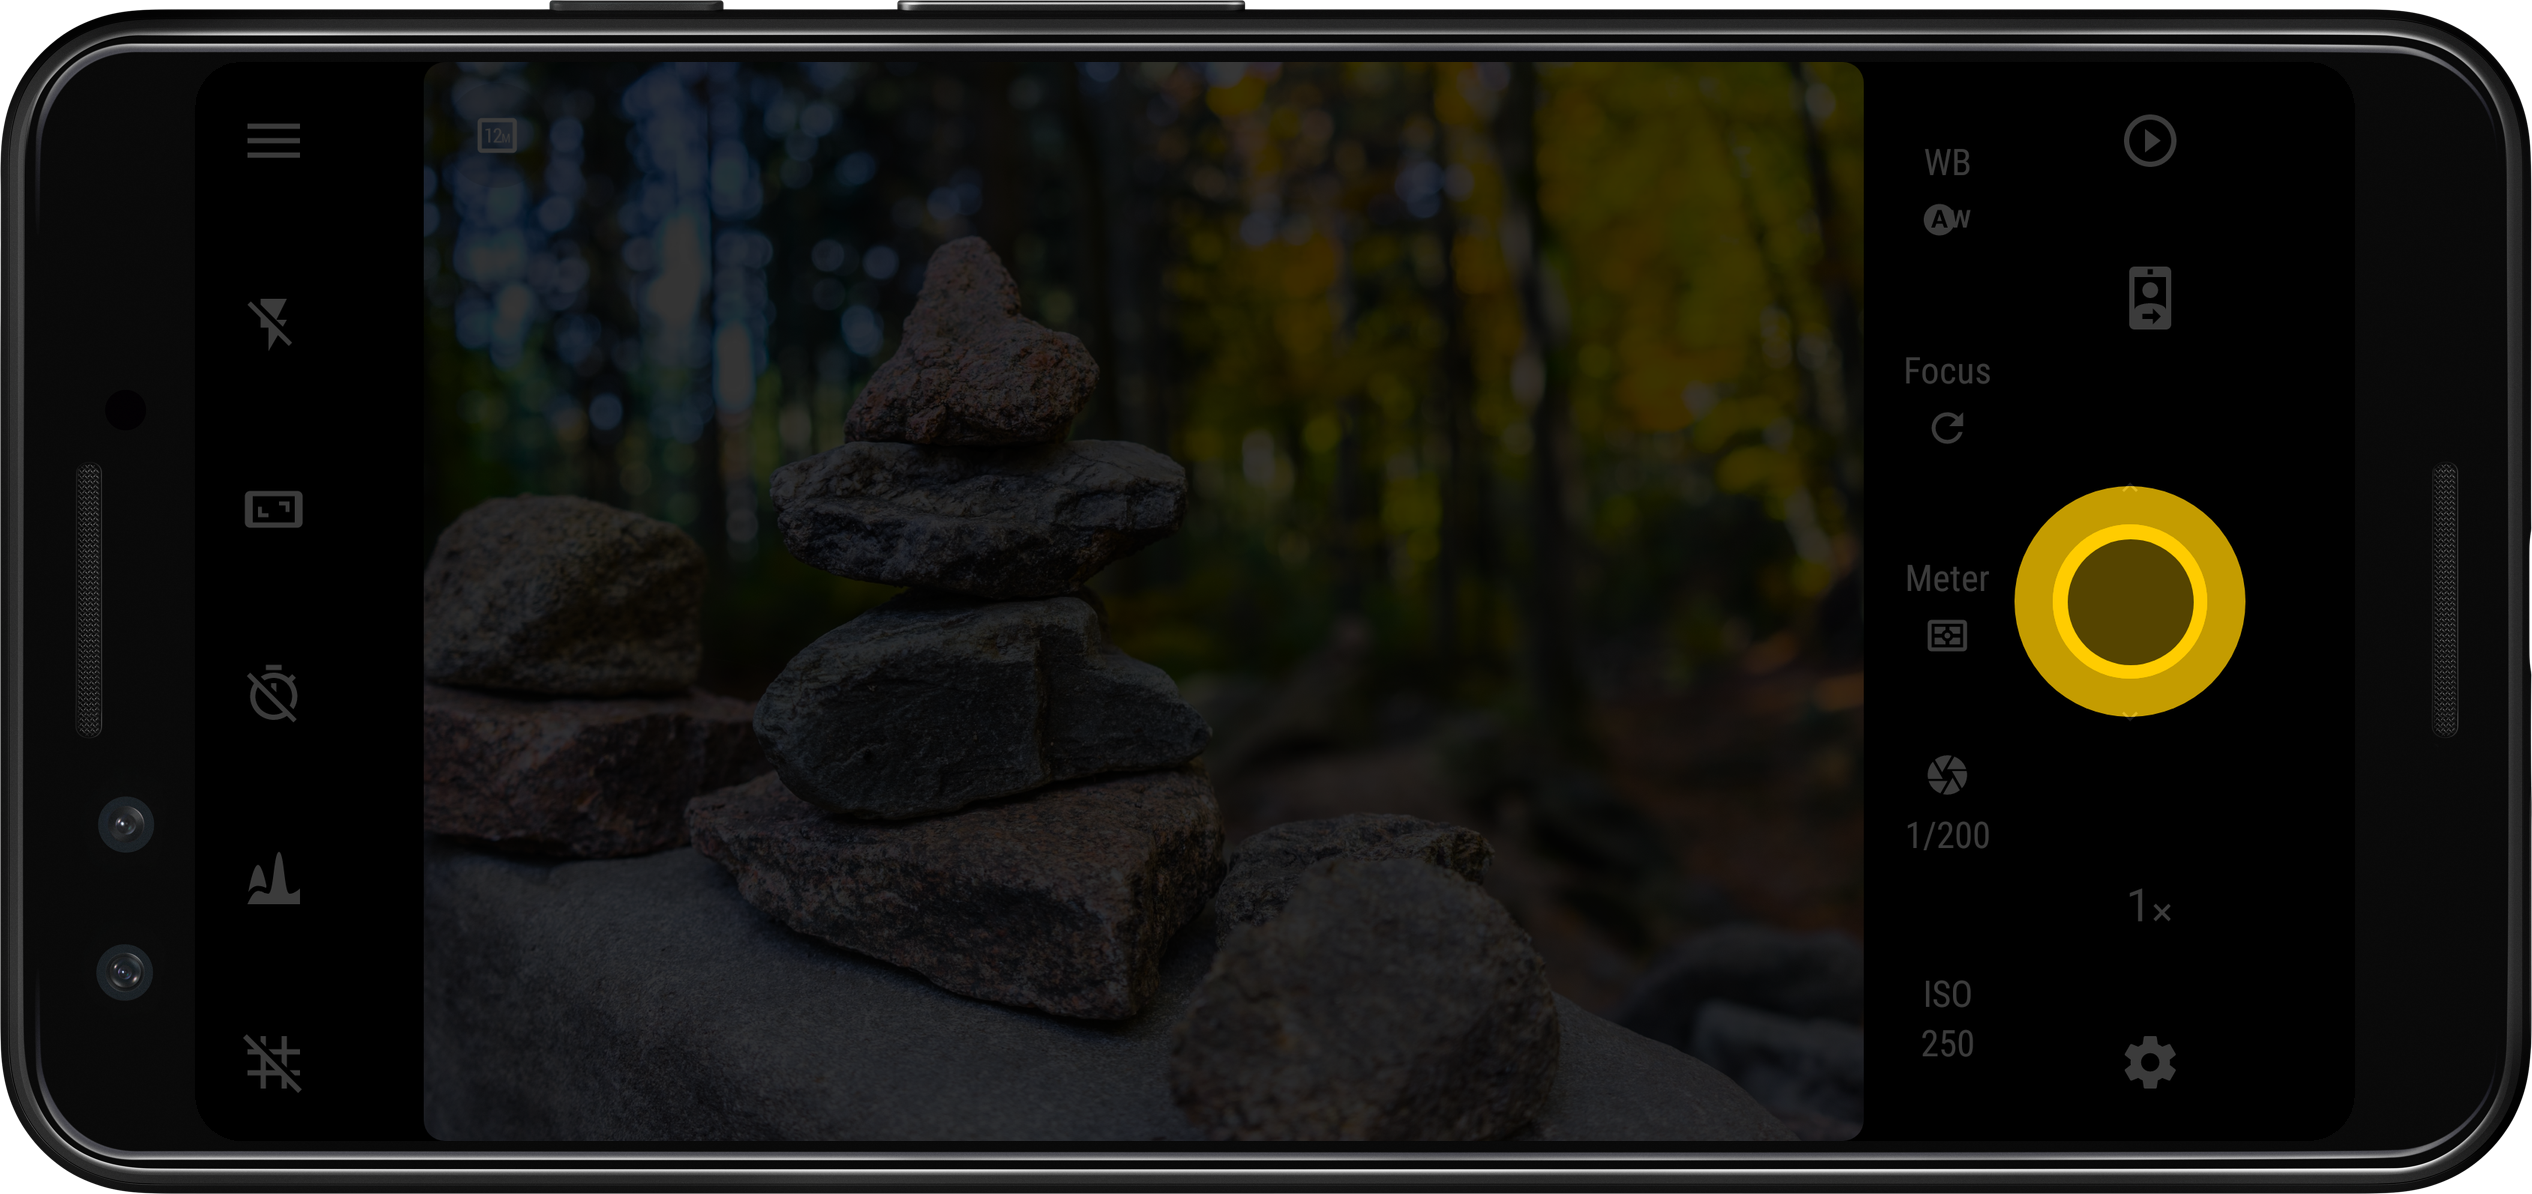
To zoom in and out, use two fingers on the camera image (on this manual referred as viewfinder). You can also drag up and down the shutter button as well to zoom in and out respectively.
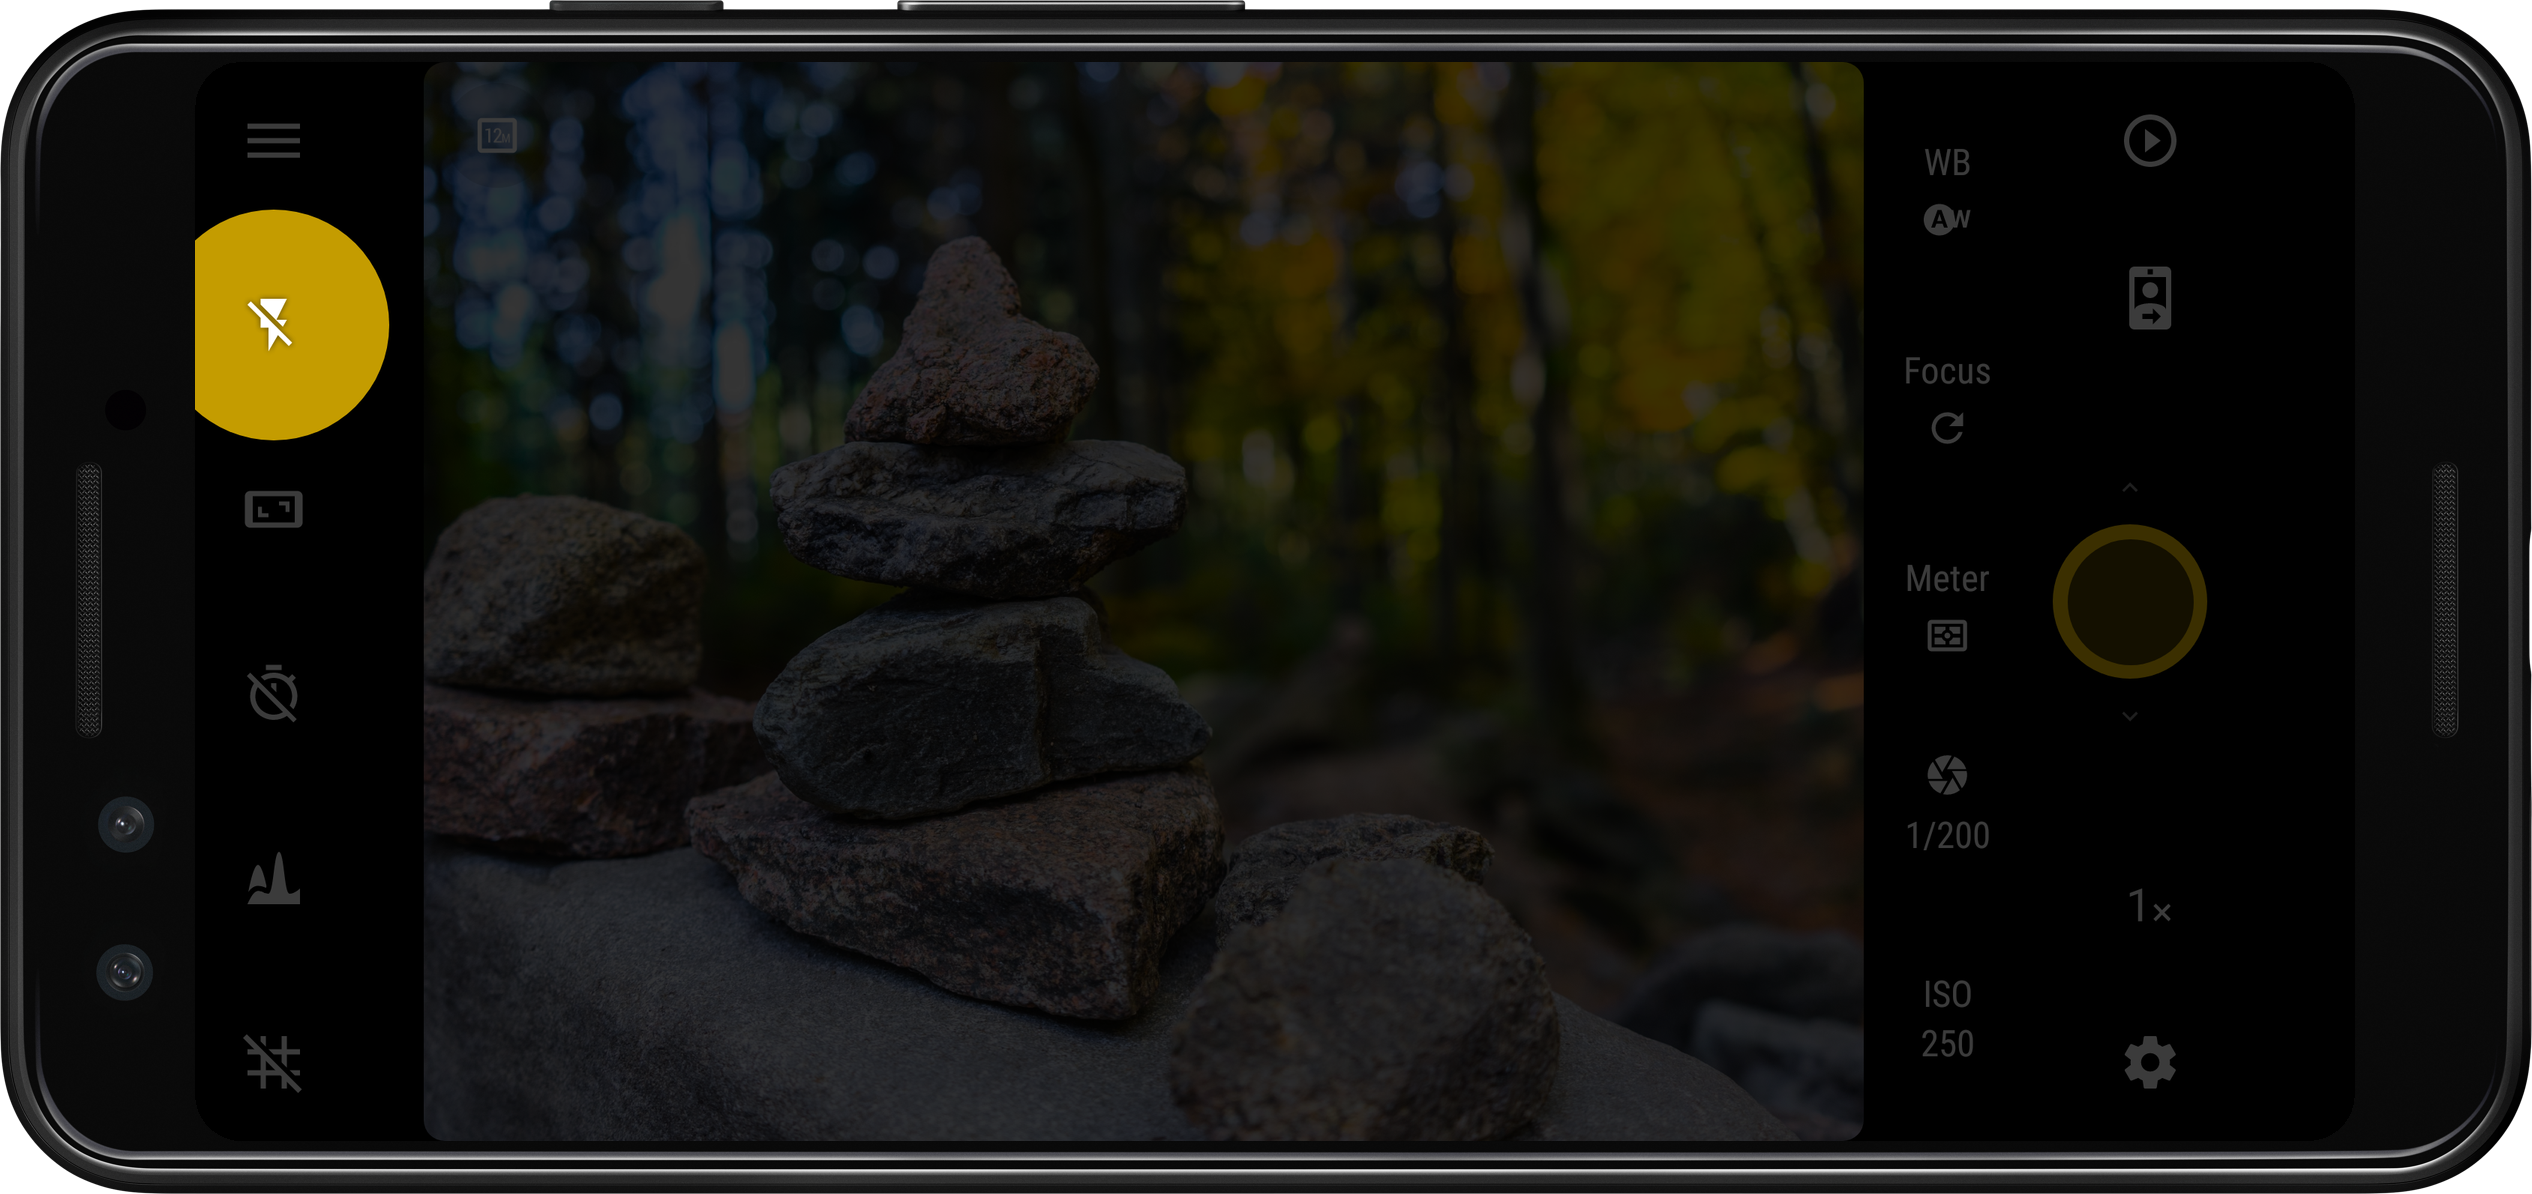
You can tap on flash button multiple times to cycle through the different flash modes: off → automatic → on → torch (where the flash light is permanently on) → off.
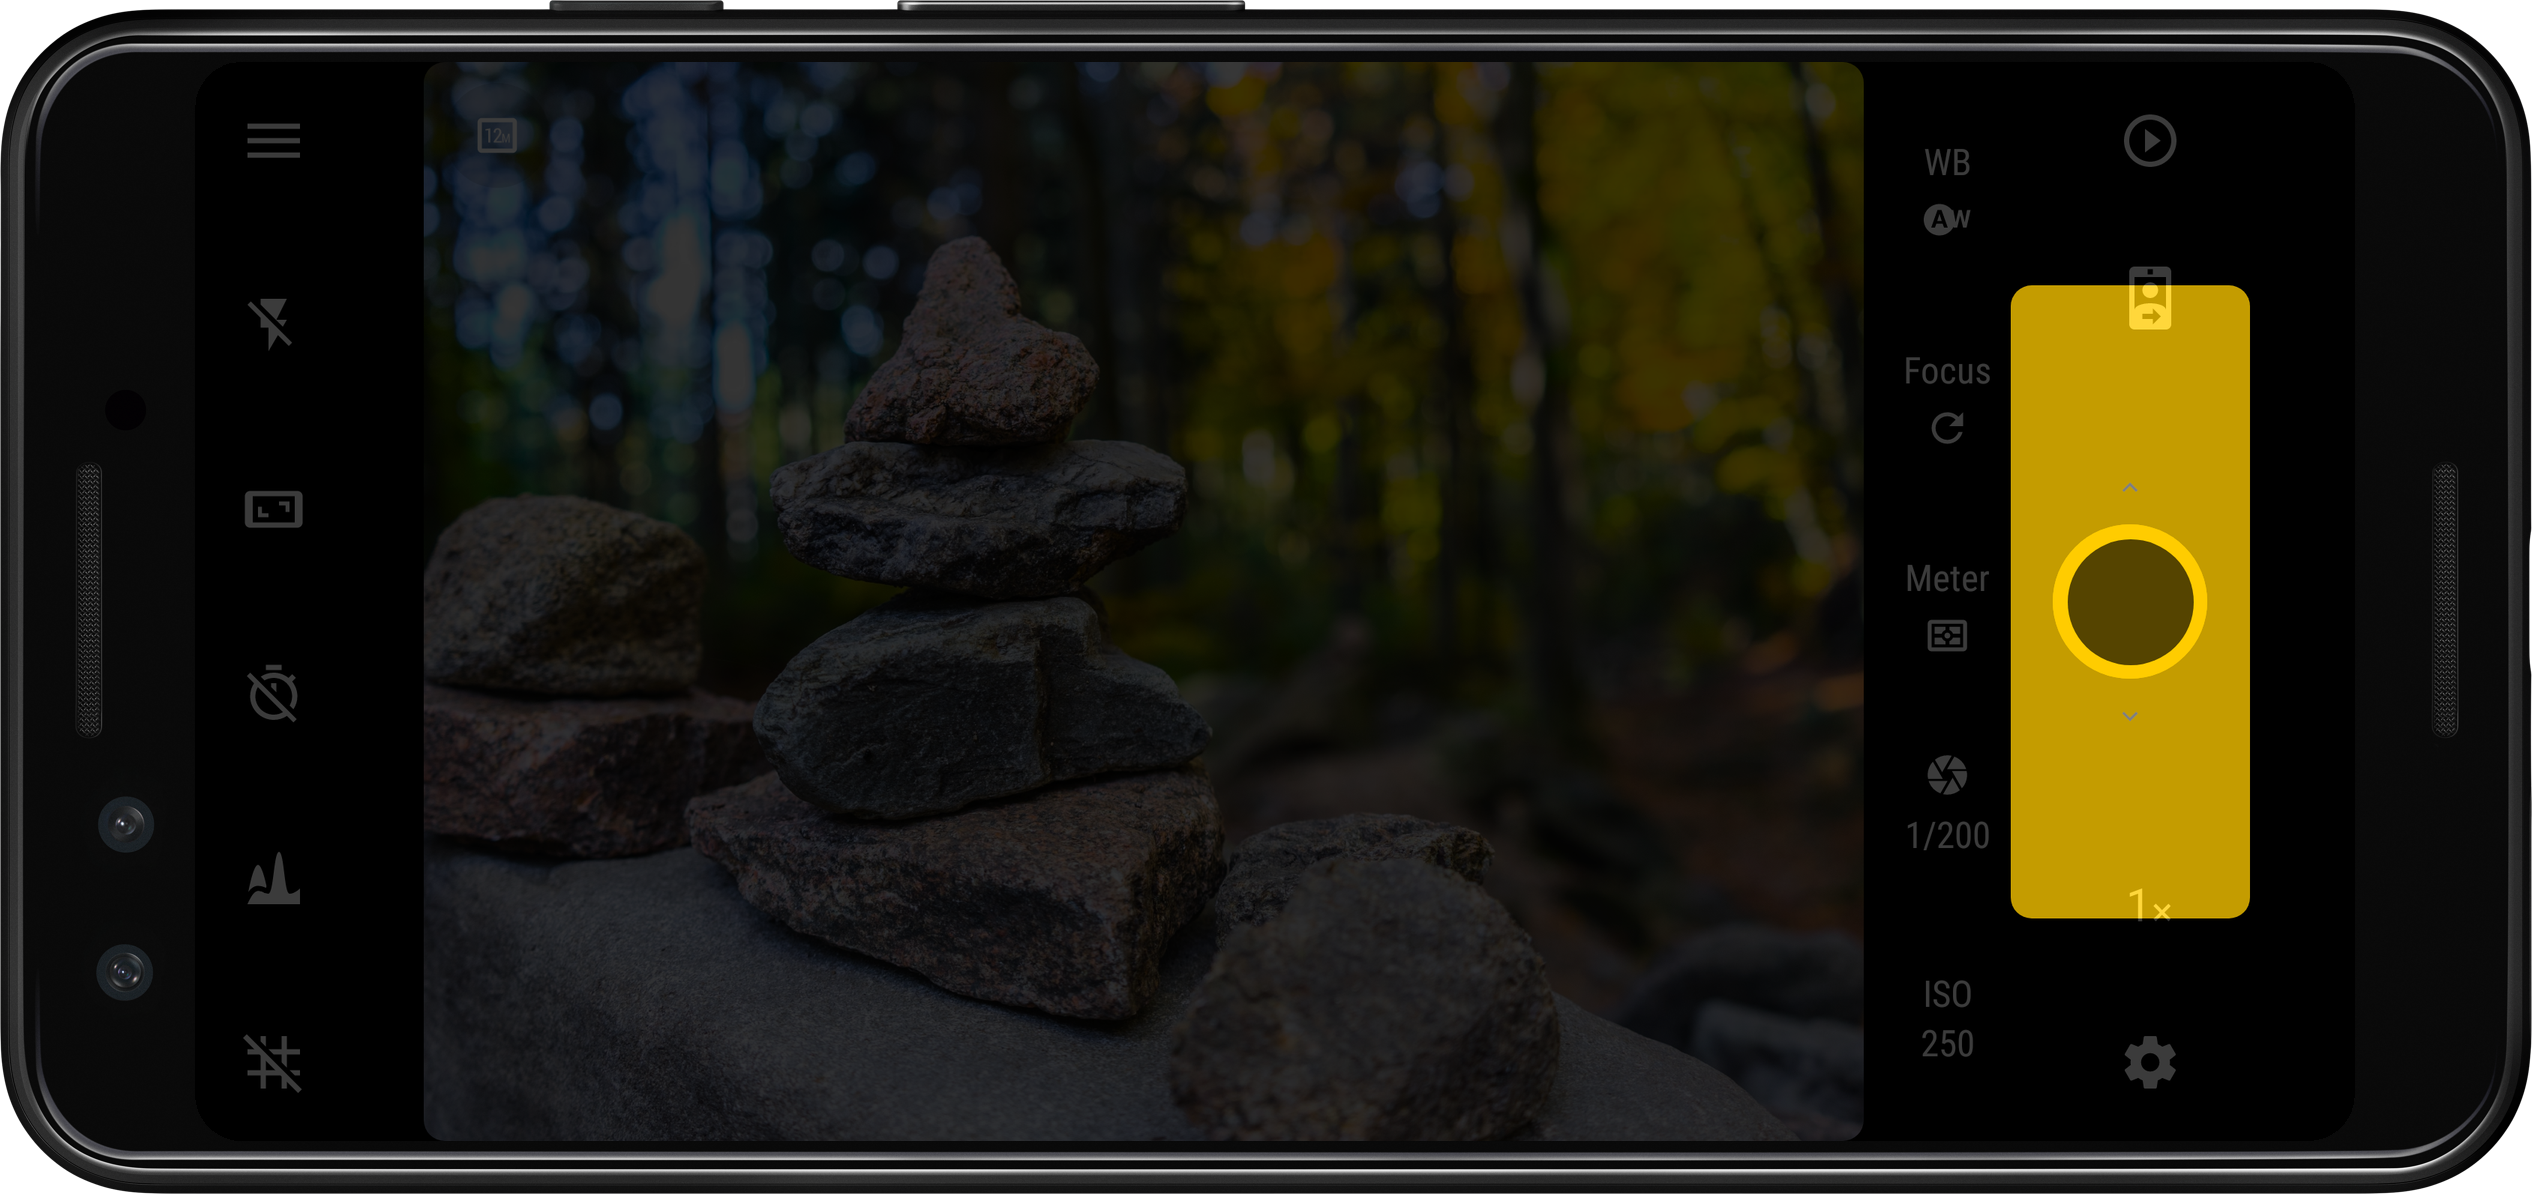
To switch between the rear and front (selfie) cameras, you can tap on the camera direction switch button:
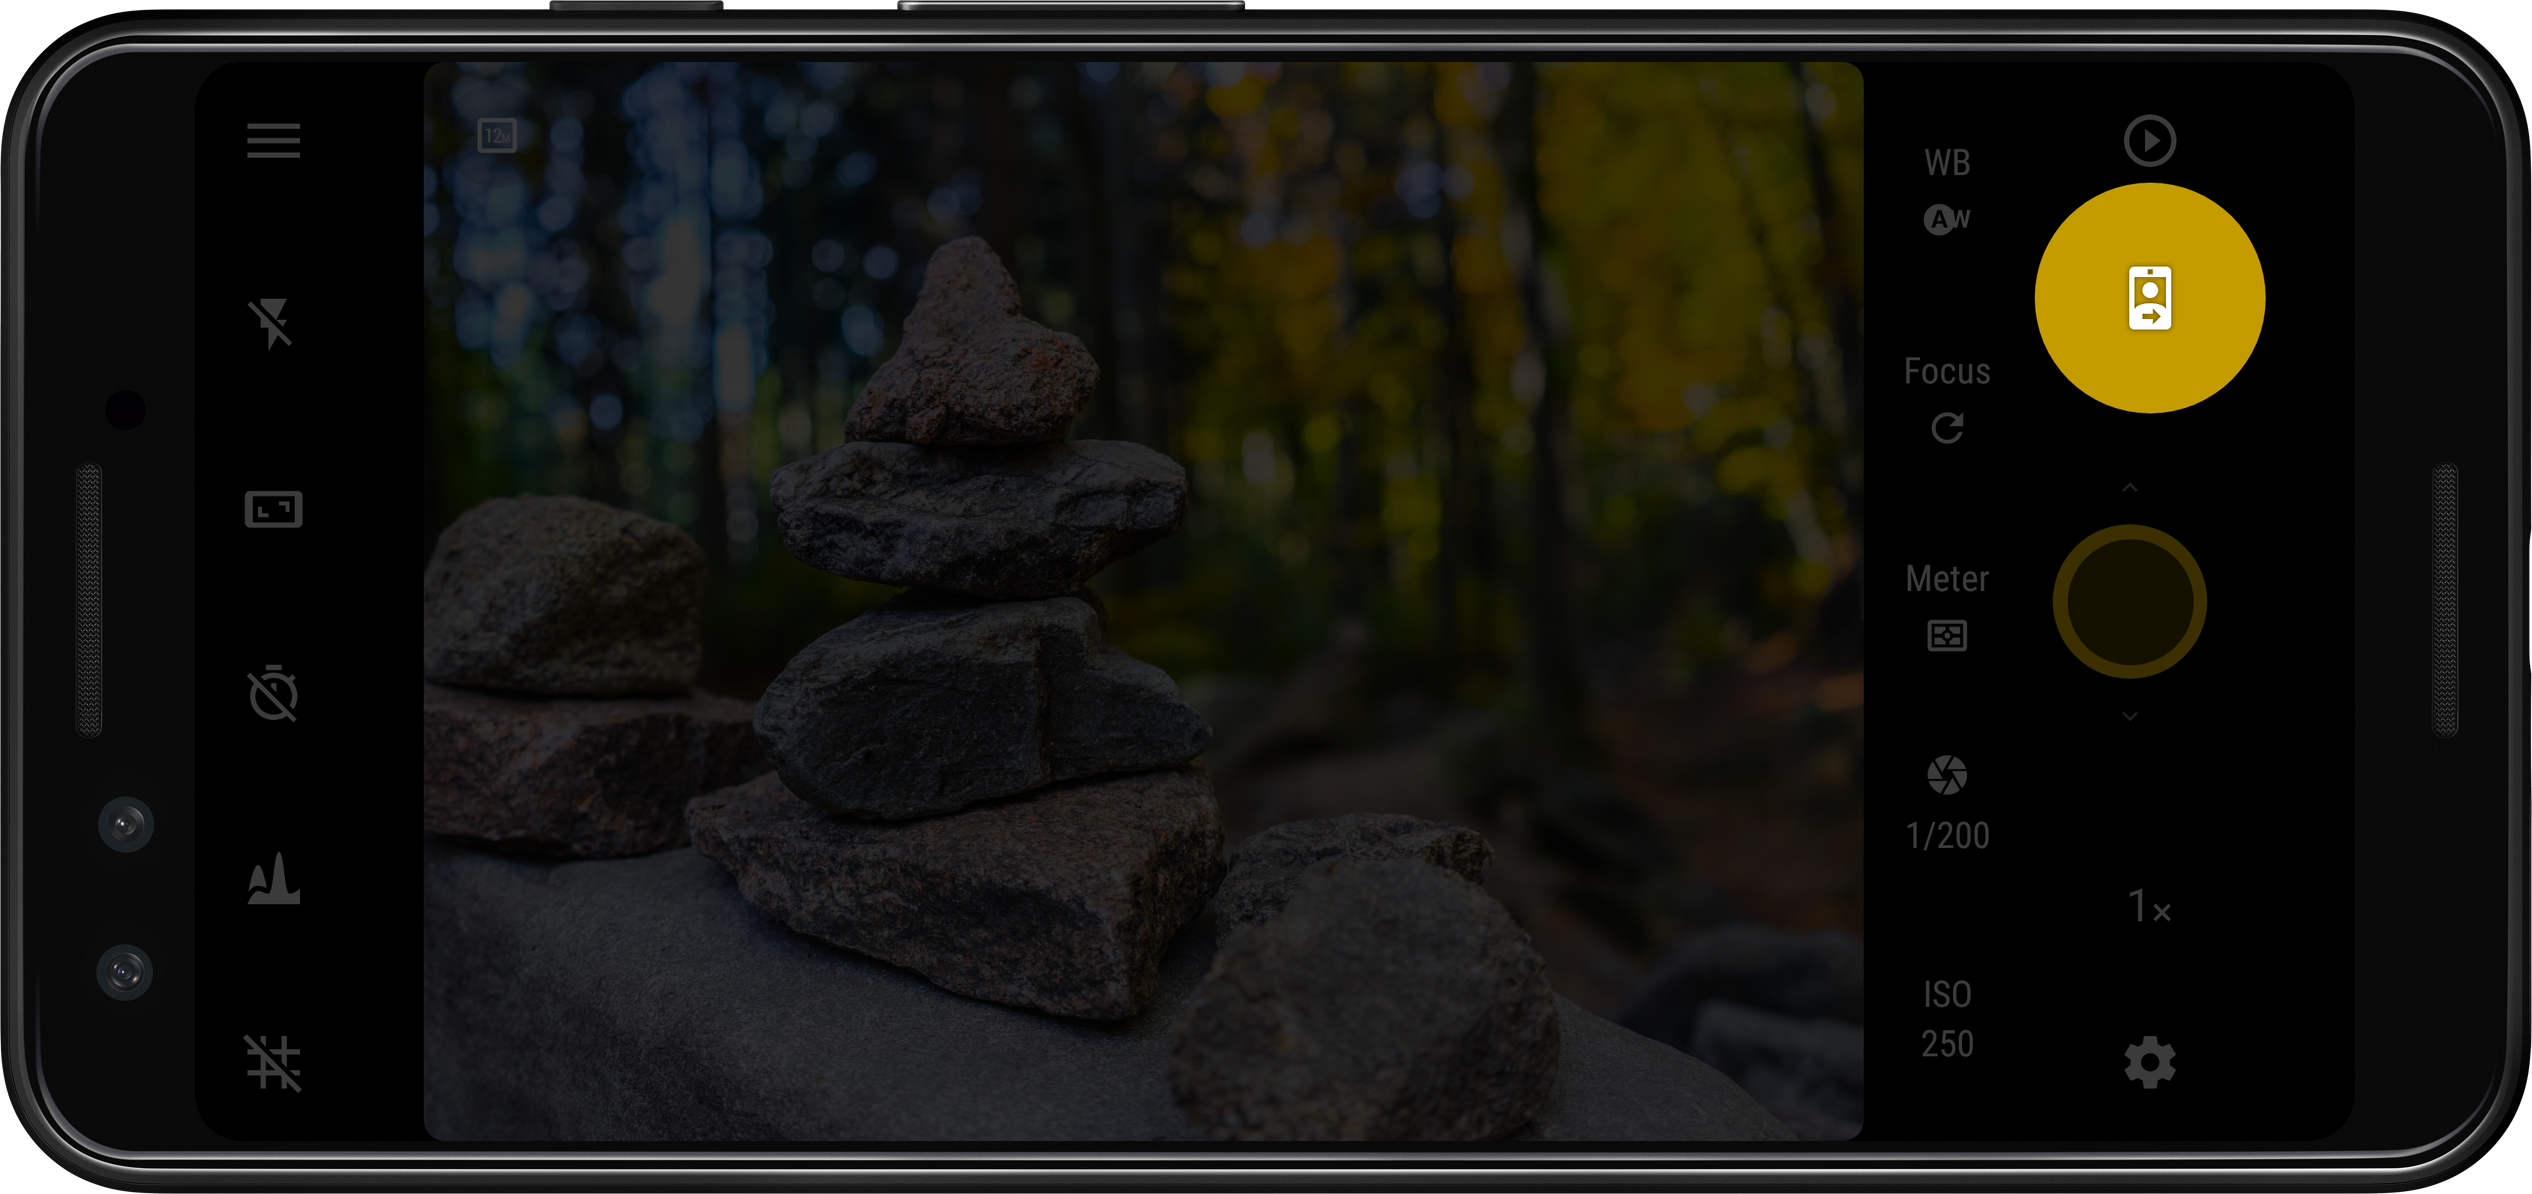
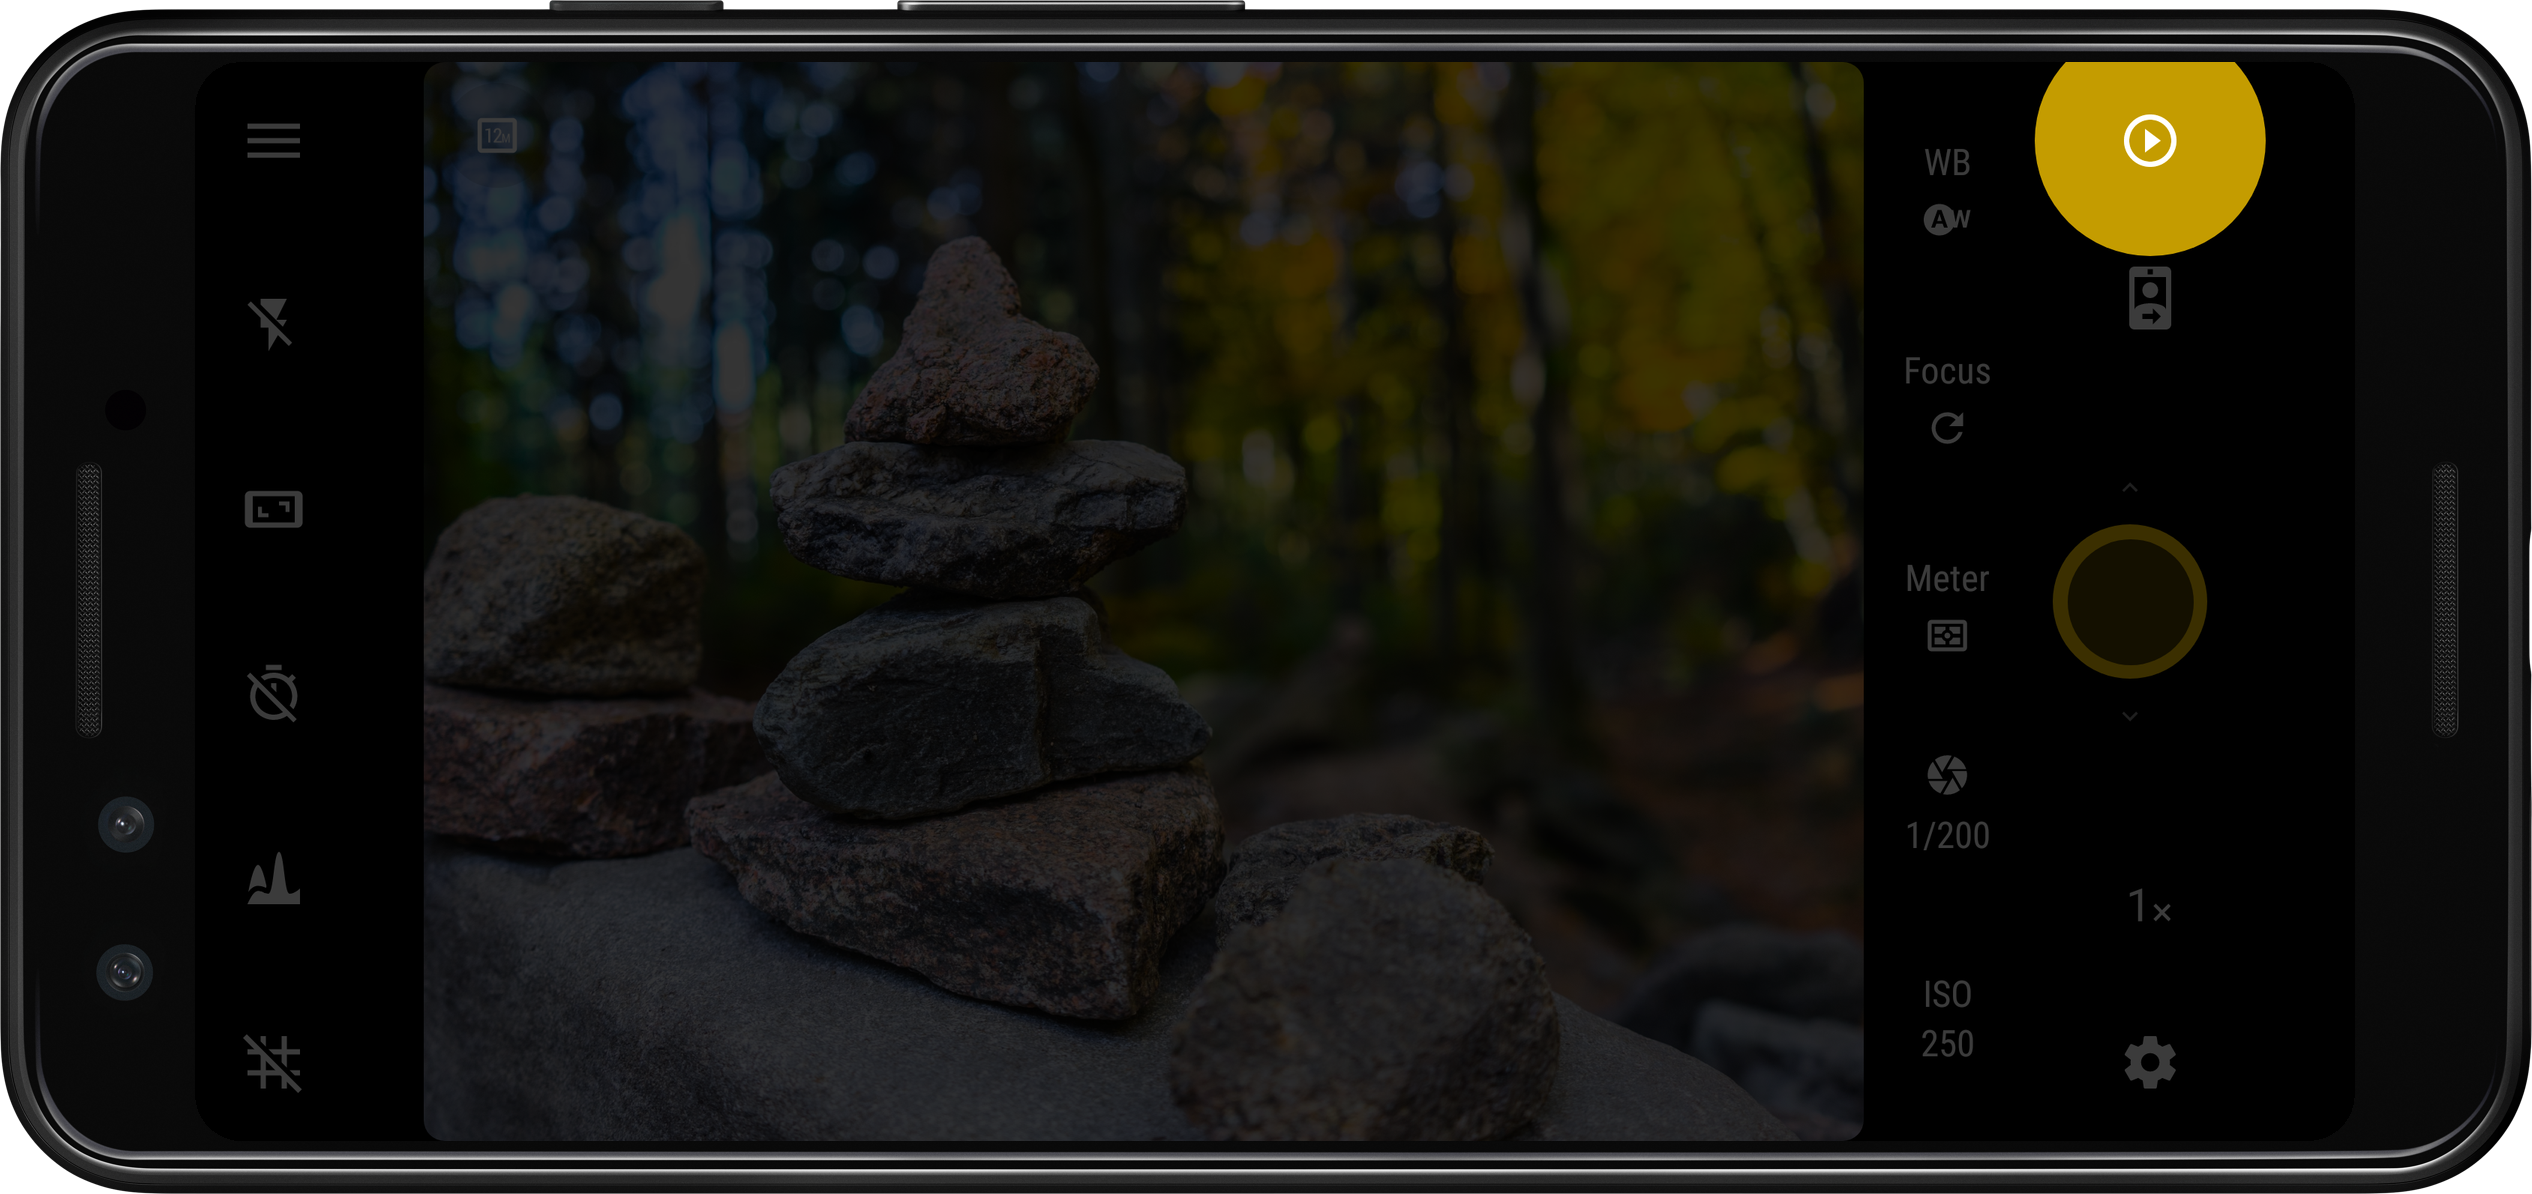
Finally, after taking a couple of photos, you might want to quickly have a look at them. You can of course use your favourite gallery app for this (and the photos you take with Camera FV-5 will show up on them), however Camera FV-5 ships with an integrated gallery you can use to quickly review the pictures you take without having to switch to another app. You can tap on the gallery button to open the gallery with the latest picture taken, and from there you can scroll through your pictures. The gallery button will usually display a thumbnail of the last taken picture.
That is everything important you need to know to get started! A couple of suggestions to continue getting digging into the app are: discover how to switch to another lens if you device have more than one, learn about the camera modes at your disposal and understand the photographic controls for manual operation that make Camera FV-5 so special.